
To access the expense entry form:
- Click My Timesheet in the left menu.
- Click the Expenses button under your name at the top of the page.
- Navigate to the Expense Entry tab.
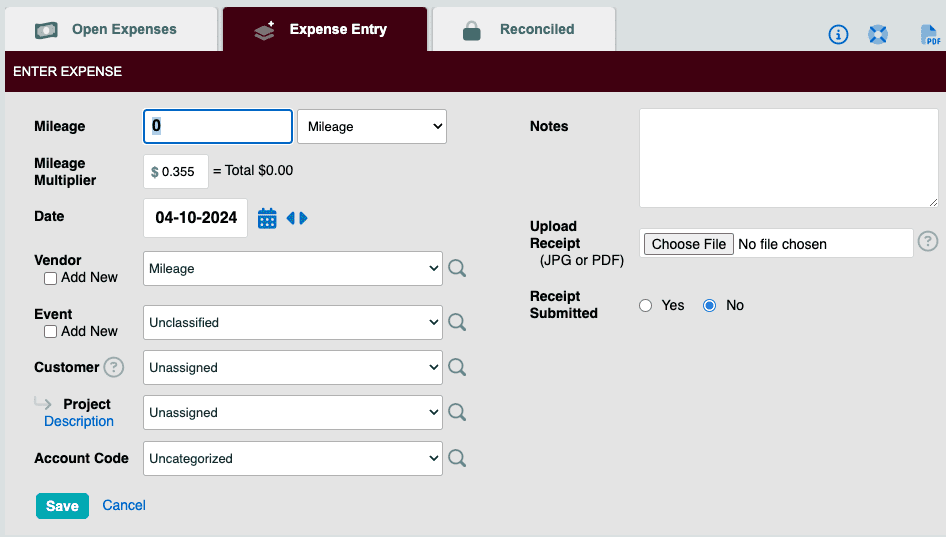
To enter mileage:
- Choose “Mileage” from the Vendor/Expense Type drop-down menu.
- Enter the number of miles in the Mileage field.
- Select the date and any other necessary list items.
- If desired, you may upload a photo of your odometer from your phone. Simply tap the Choose File button to upload an image with the mileage record. Note: Images must be a regular JPG image or a PDF file of up to four pages in length. Be sure the image is cropped sufficiently so that the receipt can be read.
- Add notes about the expense as required.
- Click the Save button to complete the process.
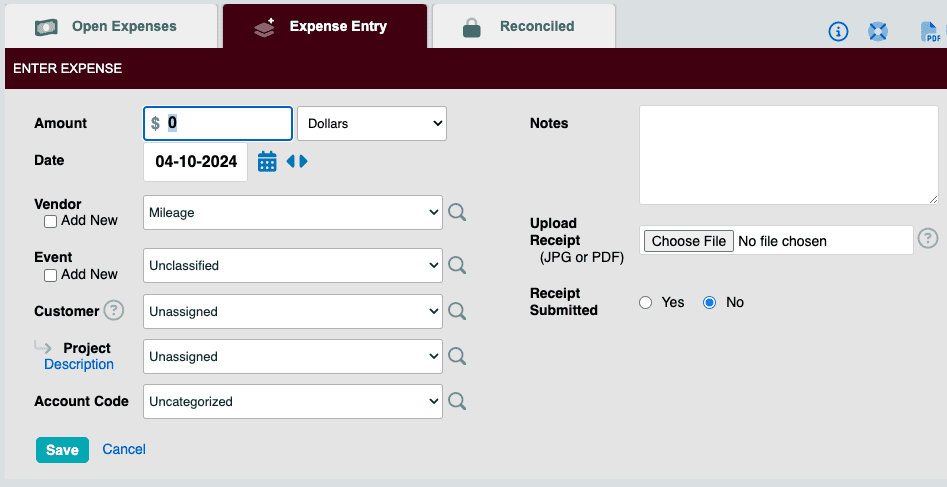
To enter expenses:
- Enter the amount for the expense, and set the date.
- Choose a vendor from the Vendor/Expense Type drop-down menu, or if available as an option, you may type in the name of a new vendor.
- Select any additional options using the drop-down menus, and any notes associated with the expense into the Notes field.
- Upload the receipt for the expense (if required) by clicking the Choose File button under Upload Receipt. Navigate to the file, and click Open. Note: A receipt can be uploaded as a regular JPG image or a PDF file of up to four pages in length. Be sure the image is cropped sufficiently so that the receipt can be read.
- Click the Save button.
Note: This process can also be completed from the mobile version of the website.